When it comes to keeping you safe and legal on the road, it’s really important to make sure your headlights aren’t just clean, but working as they legally should be too.
Thankfully, ensuring everything is as it should be with your headlights isn’t a tough task, and the majority of the jobs can be done from the comfort of your own home whether you’re a confident DIY-er or someone who isn’t quite as enthusiastic.
Why Headlights Degrade
Over time, headlights usually degrade due to either fading bulbs or headlight casing becoming discoloured. We recommend assessing both of these visually before starting any repairs.
Clean The Headlight Casing
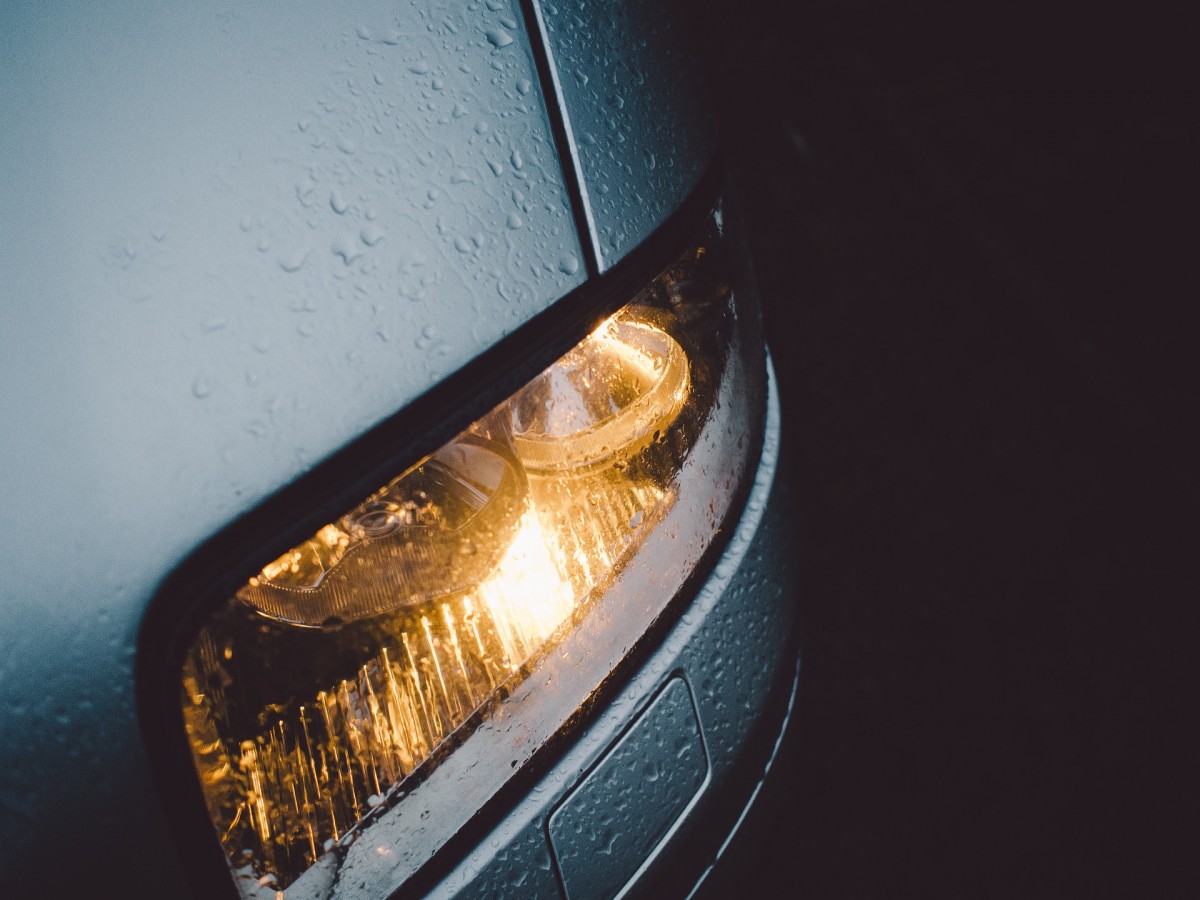
If you’ve started to notice that your headlights are foggy or have a yellow tinge, this could be a sign that they’re in need of cleaning, have become significantly scratched or have started to break down from UV exposure. If this sounds familiar, look for a headlight restoration kit. These kits often contain light sanding tools and chemical cleaners.
Start by cleaning the headlights with a normal car cleaning product to remove any dirt, then dry off. Apply the abrasive or cleanser and work it across the casing. Remember not to use too much force to avoid marking the surface further. Finally buff of the cleaner and you should see clearer lenses.
If you find your headlights are beyond repair, pick up a new set for your vehicle here. Whether you fancy a sporty upgrade or a standard fitting, enter your reg and find the perfect headlight today.
Replace The Bulbs
If it appears that the bulbs are the cause of your dimming headlights, the next logical step is to change the bulbs. Car bulbs have a lifespan, halogen bulbs typically last 500-1000 hours whereas LED can last up to 30,000 hours.
While you may think the best way of getting into your headlights is from the front of your car, almost all headlights are accessed from the back, under the bonnet. It is always best to consult your car manual to see exactly how to access them.
Once you’ve located the bulb in question, remove it by either unscrewing it, or unclipping it from its plastic fitting. Then, insert your new bulb, test it and then if everything is working, put it all back to how it should be. Once you’ve done this, repeat the procedure on your other headlight to avoid having one side brighter than the other.
See how to check your headlights and other lights on your car using our guide here.
Check Fuses
If you notice that things go dark whenever you select your sidelights, main beams or dipped beams, there’s a chance you may have blown a fuse. So before you open the tool box and start changing any bulbs, try fixing the problem from the cabin.
Begin by locating your car’s fuse box, underneath the glove box is often a good place to start, before locating the fuse for your car’s headlights. Once you’ve found it, replace the fuse with one of the same amperage before testing to see if the problem is fixed.
Remember, there may be more than one fuse per headlight function, so be sure to check them all.
For everything you need to keep your headlights in tip top condition, head over to Euro Car Parts and find the right part for your car today. We’ve got fittings for every major make and model of car – all you have to do is enter your registration and we’ll do the rest for you.